Residential roof contractor services are crucial for maintaining the integrity and value of a home. Choosing the right contractor involves careful consideration of their experience, qualifications, and the specific services they offer. This guide explores the multifaceted world of residential roofing, from initial assessment to final project completion, offering homeowners the knowledge to make informed decisions.
From understanding the nuances of different roofing materials and installation processes to navigating cost estimations and warranty agreements, this comprehensive resource equips homeowners with the information necessary to successfully manage their roofing projects. We’ll delve into the essential qualities of a reputable contractor, explore common challenges encountered during installation, and provide insights into effective communication strategies for a smooth and successful experience.
Defining the Ideal Residential Roof Contractor
Choosing the right residential roof contractor is crucial for ensuring the longevity and safety of your home. A poorly executed roofing job can lead to costly repairs, structural damage, and even safety hazards. Therefore, understanding the qualities of a reputable contractor is paramount before embarking on your roofing project.
Characteristics of a Highly Reputable Residential Roof Contractor
A highly reputable residential roof contractor demonstrates professionalism in all aspects of their business. This includes prompt and courteous communication, a detailed and transparent pricing structure, and a commitment to completing the project on time and within budget. They should also maintain a clean and organized worksite, respecting your property and minimizing disruption to your daily life. Furthermore, a strong reputation is often built on positive client reviews and testimonials, reflecting consistent quality of work and customer satisfaction.
Essential Qualifications and Certifications
Homeowners should prioritize contractors with relevant qualifications and certifications. A contractor’s experience and expertise are vital, evidenced by years of experience in the roofing industry and a proven track record of successful projects. Certifications, such as those offered by the National Roofing Contractors Association (NRCA), demonstrate a commitment to professional standards and best practices. These certifications often involve rigorous training and testing, ensuring a higher level of competency. Looking for proof of ongoing professional development, such as attending industry conferences or workshops, also signifies a contractor’s dedication to staying updated with the latest techniques and technologies.
Importance of Insurance and Licensing for a Residential Roof Contractor
Insurance and licensing are non-negotiable aspects to consider when selecting a residential roof contractor. General liability insurance protects you from potential financial losses in case of accidents or damage to your property during the project. Workers’ compensation insurance safeguards the contractor’s employees, protecting you from liability if an accident occurs on your property. Proper licensing ensures the contractor adheres to local building codes and regulations, guaranteeing the legality and safety of the work performed. Verifying these credentials protects both your investment and your peace of mind.
Services Offered by Different Types of Residential Roof Contractors
Different residential roof contractors specialize in various roofing materials. Shingle contractors, for example, are experts in installing and repairing asphalt shingles, the most common roofing material in many regions. Tile contractors focus on clay or concrete tile roofs, known for their durability and aesthetic appeal, though often requiring specialized installation techniques. Metal roof contractors specialize in installing and maintaining metal roofing systems, which offer exceptional longevity and resistance to harsh weather conditions. Each type of contractor possesses unique expertise and uses specialized tools and techniques appropriate for their chosen material. Choosing a contractor specializing in the type of roof you desire ensures a high-quality installation tailored to the specific material’s requirements.
The Roof Installation Process
A new roof installation is a significant undertaking, requiring careful planning and execution. Understanding the process can help homeowners feel more confident and informed throughout the project. This section details the typical steps involved, potential challenges, and how a skilled contractor addresses them.
The installation process is a series of carefully coordinated steps, each building upon the previous one to ensure a durable and leak-proof roof. Variations exist depending on the roof type and complexity, but the general sequence remains consistent.
Typical Steps in Residential Roof Installation
The following table outlines the typical steps involved in a residential roof installation project. Timeframes are estimates and can vary based on factors such as roof size, weather conditions, and material availability.
| Step | Description | Timeframe | Materials |
|---|---|---|---|
| 1. Assessment & Planning | Initial site inspection, measurements, material selection, permit acquisition, and detailed project planning. | 1-2 days | Measuring tools, blueprints, samples of roofing materials |
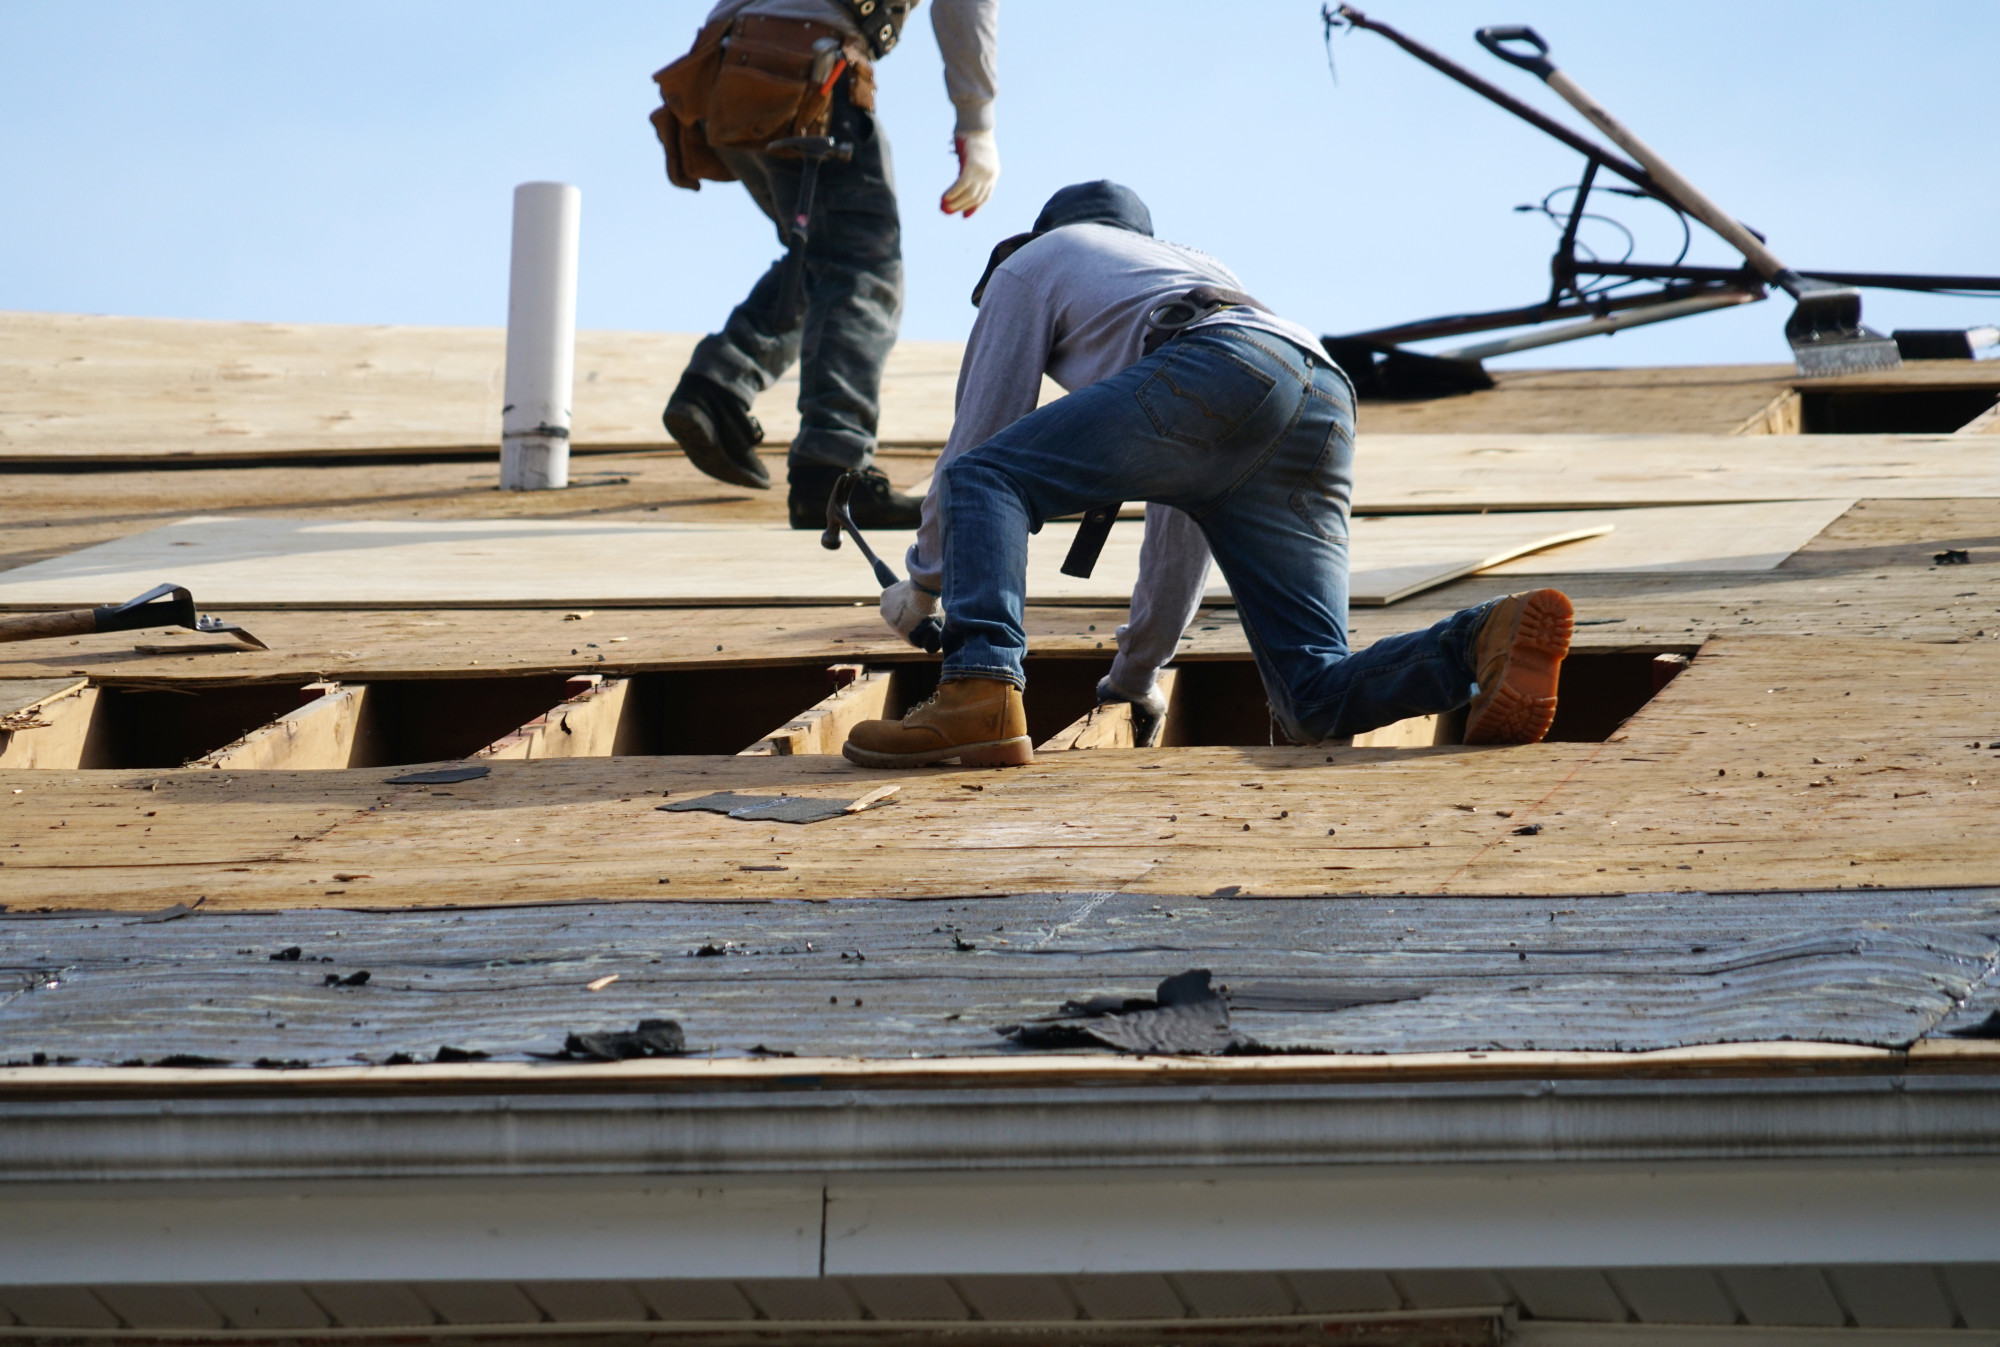
| 2. Tear-off (Existing Roof Removal) | Careful removal of the old roofing materials, including shingles, underlayment, and potentially some flashing. Debris removal is crucial. | 1-3 days | Safety equipment, demolition tools, dumpsters |
| 3. Deck Inspection & Repair | Thorough inspection of the roof deck for damage. Necessary repairs, such as replacing rotted wood or patching holes, are completed. | 1-2 days (depending on the extent of repairs) | Wood replacement, sealant, roofing nails |
| 4. Underlayment Installation | Installation of a waterproof underlayment to protect the roof deck from moisture and provide an additional layer of protection. | 1-2 days | Underlayment rolls, roofing nails, staples |
| 5. Flashing Installation | Installation of flashing around chimneys, vents, and other penetrations in the roof to prevent water leakage. | 1 day | Flashing materials (metal or rubber), sealant |
| 6. Shingle Installation | Careful installation of new shingles, ensuring proper overlap and alignment for optimal weather protection. | 2-4 days | Roofing shingles, roofing nails, shingle starter strips |
| 7. Final Inspection & Cleanup | A final inspection to ensure all work meets quality standards. Complete removal of debris and restoration of the surrounding area. | 1 day | Cleaning supplies, debris removal equipment |
Detailed Explanation of Each Stage
Each stage is critical to the overall success of the project. For instance, a thorough deck inspection prevents future leaks, while proper flashing installation safeguards against water intrusion at vulnerable points. Careful shingle installation ensures the longevity and weather resistance of the new roof.
Potential Challenges and Solutions
Unexpected challenges can arise during a roof installation. For example, discovering extensive rot in the roof deck during the tear-off process requires additional time and materials for repair. Severe weather can delay the project. A skilled contractor anticipates these issues and has contingency plans. For example, they might have backup materials on hand or be flexible in scheduling to accommodate weather delays. Discovering asbestos during a tear-off requires specialized handling and disposal, adding to the project cost and timeline. A reputable contractor will be properly licensed and insured to handle such situations.
Roof Installation Flowchart
The following describes a visual representation of the typical residential roof installation sequence. Imagine a flowchart with boxes connected by arrows. The boxes would represent each step from the table above (Assessment & Planning, Tear-off, Deck Inspection & Repair, Underlayment Installation, Flashing Installation, Shingle Installation, Final Inspection & Cleanup). The arrows indicate the sequential order of these steps. The flowchart visually emphasizes the interconnected nature of each stage and the importance of completing them in the correct order for a successful project.
Materials and Costs Associated with Roof Replacement
Replacing your roof is a significant investment, and understanding the materials and associated costs is crucial for making informed decisions. This section will outline the various roofing materials available, the factors influencing overall cost, pricing structures of contractors, and a sample budget breakdown for a typical residential roof replacement.
Roofing Material Options and Their Characteristics
Choosing the right roofing material depends on several factors, including your budget, aesthetic preferences, and the climate in your region. Each material offers a unique set of advantages and disadvantages.
- Asphalt Shingles: The most common and affordable option. They are relatively easy to install and come in a variety of colors and styles. However, they have a shorter lifespan compared to other materials and are susceptible to damage from severe weather. Asphalt shingles typically last 15-30 years.
- Tile Roofing (Clay or Concrete): Durable and long-lasting, offering excellent protection against the elements. They are aesthetically pleasing and can significantly increase your home’s value. However, they are heavier than other materials, requiring a stronger roof structure, and are generally more expensive to install.
- Metal Roofing (Steel or Aluminum): Extremely durable and long-lasting, often exceeding 50 years. They are resistant to fire, wind, and hail damage. Metal roofs can be more expensive upfront but offer significant long-term cost savings. They can also be quite noisy during rain storms.
- Wood Shakes and Shingles: Offer a rustic and aesthetically pleasing look. They are a natural material, but require more maintenance than other options and are susceptible to rot, insect infestation, and fire damage. They are generally more expensive than asphalt shingles.
Factors Influencing Roof Replacement Costs
Several factors significantly impact the overall cost of a roof replacement project. Understanding these factors allows for better budgeting and realistic expectations.
- Roof Size and Complexity: Larger and more complex roofs (e.g., those with multiple dormers or valleys) naturally require more materials and labor, increasing the overall cost.
- Material Selection: As discussed above, different roofing materials have vastly different price points. Higher-end materials like tile or metal roofing will significantly increase the cost compared to asphalt shingles.
- Labor Costs: Labor costs vary depending on location, the contractor’s experience, and the complexity of the job. Highly skilled and experienced contractors may charge more.
- Permits and Inspections: Obtaining necessary permits and inspections adds to the overall cost. These fees vary depending on local regulations.
- Underlayment and Other Materials: The cost of underlayment, flashing, and other necessary materials also contributes to the total cost. Higher-quality materials will naturally cost more.
- Waste Removal: Disposal of old roofing materials adds to the overall expense.
Contractor Pricing Structures
Roofing contractors typically use different pricing structures. Understanding these structures is crucial for comparing bids effectively.
- Per Square Foot Pricing: This is a common method where the contractor charges a set price per square foot of roofing area. This simplifies the pricing process, but may not always accurately reflect the complexity of the job.
- Flat Fee Pricing: A flat fee is less common for larger projects, but might be used for smaller repairs. It provides a fixed price, but may not be as adaptable to unexpected complications.
- Detailed Line-Item Pricing: This method provides a breakdown of all costs, including materials, labor, permits, and other expenses. It offers the most transparency and allows for easy comparison between contractors.
Sample Residential Roof Replacement Budget
This is a sample budget for a 2000 square foot home with asphalt shingle roofing in a mid-range cost area. Actual costs will vary based on location and specifics.
| Item | Cost |
|---|---|
| Materials (Asphalt Shingles, Underlayment, etc.) | $8,000 – $12,000 |
| Labor | $6,000 – $10,000 |
| Permits and Inspections | $500 – $1,000 |
| Waste Removal | $200 – $500 |
| Total Estimated Cost | $14,700 – $23,500 |
Note: This is a rough estimate. It’s crucial to obtain multiple detailed quotes from reputable contractors before making a decision.
Client Communication and Project Management
Effective communication and meticulous project management are cornerstones of a successful residential roofing project. A contractor’s ability to clearly communicate project details, manage expectations, and maintain consistent contact with clients directly impacts customer satisfaction and the overall project’s success. This section details strategies for enhancing communication and managing the project lifecycle effectively.
Effective Communication Strategies
Open and proactive communication is crucial. This includes utilizing multiple channels to reach clients, such as phone calls, emails, and even occasional text updates for quick confirmations or scheduling changes. Regular updates on project progress, even minor ones, keep clients informed and engaged. Active listening during initial consultations and throughout the project is equally important to address concerns promptly and ensure the contractor understands the client’s needs and preferences. Providing clients with a dedicated point of contact ensures consistent communication and avoids confusion. Finally, using clear and concise language, avoiding technical jargon whenever possible, ensures that all communication is easily understood.
Importance of Clear Contracts and Detailed Project Timelines
A comprehensive contract serves as a legally binding agreement, outlining the scope of work, payment schedules, timelines, and other essential details. This protects both the contractor and the client. A clearly defined project timeline, outlining key milestones and anticipated completion dates, provides transparency and manages expectations. This timeline should be realistic and account for potential delays due to unforeseen circumstances, such as inclement weather. The contract should also include clauses addressing potential delays and how they will be handled, along with clear descriptions of the materials to be used and their warranties. For example, a contract might specify a completion date of 4 weeks from the start date, with weekly progress updates to be provided via email.
Managing Client Expectations
Managing client expectations is a continuous process starting from the initial consultation. Setting realistic expectations regarding timelines, costs, and potential disruptions is crucial. Proactive communication, as mentioned earlier, plays a significant role in managing expectations. Addressing client concerns promptly and professionally, offering solutions whenever possible, and maintaining a positive and transparent relationship build trust and reduce potential conflicts. Regular progress updates, both verbal and written, keep clients informed and involved, minimizing surprises and potential disappointments. For example, if a delay is anticipated due to material shortages, the contractor should inform the client immediately, explaining the situation and providing a revised timeline.
Email Templates for Client Communication
Effective email communication can streamline the project. Here are examples of emails a contractor might use:
- Project Confirmation Email (Sent after contract signing): Subject: Your Roof Replacement Project is Confirmed! Body: This email confirms the details of our agreement, including the project scope, start date, and payment schedule. We are excited to begin work on your roof!
- Project Commencement Email (Sent before work begins): Subject: Your Roof Replacement Project is Starting Soon! Body: We will begin work on [date]. We will contact you [time] on [date] to confirm access to your property.
- Progress Update Email (Sent weekly): Subject: Weekly Update: Your Roof Replacement Project. Body: This week, we completed [tasks completed]. Next week, we will [tasks planned for next week].
- Project Completion Email (Sent after project completion): Subject: Your Roof Replacement Project is Complete! Body: We have completed your roof replacement project. Please review the completed work and contact us if you have any questions or concerns.
- Final Invoice Email (Sent after project completion): Subject: Final Invoice for Your Roof Replacement Project. Body: Your final invoice for [amount] is attached. Payment is due within [number] days.
Warranty and Maintenance
Protecting your investment in a new roof involves understanding the warranty provided by your contractor and committing to regular maintenance. A well-maintained roof will not only extend its lifespan but also prevent costly repairs down the line. This section details typical warranty coverage and provides essential maintenance tips for homeowners.
Residential roof contractors typically offer warranties covering both materials and workmanship. Material warranties are provided by the manufacturers and cover defects in the materials themselves, such as shingles splitting or flashing leaking prematurely. Workmanship warranties, offered by the contractor, cover issues resulting from improper installation, like leaks due to incorrectly installed shingles or improperly sealed flashings. The length of these warranties varies depending on the materials used and the contractor’s policies, but commonly range from 1 to 25 years. It’s crucial to review the specific terms and conditions of your warranty carefully before signing any contract.
Warranty Coverage Details
A typical warranty will specify what is covered (e.g., material defects, faulty workmanship), what is excluded (e.g., damage from acts of God, normal wear and tear), and the process for filing a claim. For instance, a manufacturer’s warranty on asphalt shingles might cover premature shingle failure due to manufacturing defects, but not damage caused by a tree falling on the roof. Similarly, a contractor’s workmanship warranty might cover leaks resulting from improper installation, but not damage caused by prolonged neglect or lack of maintenance.
The Importance of Regular Roof Maintenance and Inspection
Regular roof inspections and preventative maintenance are crucial for identifying and addressing potential problems before they escalate into costly repairs. Annual inspections, ideally conducted in spring and fall, allow for early detection of issues such as missing or damaged shingles, clogged gutters, and signs of leaks. Addressing these minor problems promptly can prevent significant damage and prolong the life of your roof.
Preventative Maintenance Tips
Several simple steps can significantly extend the lifespan of your roof. These include regularly cleaning gutters and downspouts to prevent water damage, trimming overhanging tree branches to prevent damage from falling limbs, and promptly addressing any leaks or signs of damage. Inspecting the roof after severe weather events is also crucial to identify any potential damage.
Sample Warranty Document
This is a sample warranty and should not be considered legal advice. Always consult with a legal professional to ensure your warranty document complies with all applicable laws and regulations.
Warranty for Roof Installation
This warranty is issued by [Contractor Name] (“Contractor”) to [Homeowner Name] (“Homeowner”) for the roof installation completed at [Address] on [Date].Workmanship Warranty: Contractor warrants its workmanship for a period of [Number] years from the date of completion. This warranty covers defects in workmanship resulting in leaks or other failures due to improper installation. This warranty does not cover damage caused by acts of God, normal wear and tear, or lack of maintenance.
Material Warranty: The materials used in this roof installation are covered by the manufacturer’s warranty, which is [Number] years for shingles and [Number] years for other materials. Copies of the manufacturer’s warranties are available upon request.
Exclusions: This warranty does not cover damage caused by: acts of God (e.g., hurricanes, tornadoes, earthquakes); normal wear and tear; improper maintenance; vandalism; or modifications made to the roof without the Contractor’s written consent.
Claim Procedure: To file a claim under this warranty, the Homeowner must notify the Contractor in writing within [Number] days of discovering the defect. The Contractor will inspect the damage and determine the cause. If the damage is covered under this warranty, the Contractor will repair or replace the defective materials or workmanship.
Limitations: The Contractor’s liability under this warranty is limited to the repair or replacement of the defective materials or workmanship. The Contractor is not liable for any incidental or consequential damages.
Governing Law: This warranty shall be governed by and construed in accordance with the laws of [State].
Visual Representation of Roofing Projects
A picture is worth a thousand words, and this is especially true when it comes to roofing. Visual representations are crucial for both showcasing the quality of our work and for effectively communicating potential problems to homeowners. High-quality images and detailed descriptions allow clients to fully understand the scope of the project and appreciate the craftsmanship involved.
A well-executed roof installation presents a visually appealing and structurally sound profile. The shingles should lie flat and uniformly, creating clean lines and a consistent pattern across the entire roof surface. There should be no gaps or inconsistencies in the shingle layout. The roofline should be crisp and defined, showcasing the precise work of experienced installers. From the ground, the roof should appear seamless and aesthetically pleasing, enhancing the overall curb appeal of the home. A close-up image would highlight the precise alignment of each shingle, demonstrating meticulous attention to detail. A wider shot would capture the overall symmetry and evenness of the roof covering, emphasizing the professional installation.
Proper Flashing and Sealing Techniques
Proper flashing and sealing are critical for preventing leaks and ensuring the longevity of the roof. These elements, while often hidden, are vital to the roof’s structural integrity and are readily apparent in a well-executed job. Visually, successful flashing is characterized by neat, clean seams where the flashing material seamlessly integrates with the roofing material and other roof components. There should be no gaps, overlaps should be consistent and even, and the flashing material should be securely fastened. Sealants should be applied evenly and neatly, forming a continuous, unbroken barrier against water penetration. A close-up image might show the precise application of sealant around a chimney flashing, highlighting the absence of gaps or imperfections.
Visual Roof Inspection for Potential Problems
Regular visual inspections are essential for identifying potential problems before they escalate into costly repairs. Damaged shingles are often readily visible; they might be cracked, curled, missing, or show significant discoloration. Leaks can manifest as water stains on the ceiling or walls, or as discoloration or moss growth on the roof itself. Missing components, such as flashing or ridge caps, are also easily identifiable during a visual inspection. An image could showcase a damaged shingle with a clearly visible crack, or a close-up image might reveal missing granules, indicating wear and tear. Another image might highlight a water stain on a ceiling, directly correlating to a leak in the roof above. A systematic visual inspection, ideally from both ground level and, if safely possible, from the roof itself, allows for early detection of these issues, preventing more extensive damage.
Epilogue
Ultimately, selecting a residential roof contractor is a significant investment. By understanding the intricacies of the process, from material selection and installation techniques to effective communication and warranty considerations, homeowners can ensure a durable, aesthetically pleasing, and cost-effective roof for years to come. This guide serves as a roadmap to navigate the complexities of residential roofing, empowering homeowners to make informed choices and achieve optimal results.