Contractor for roof repair selection is a crucial decision impacting both home value and safety. This guide navigates the complexities of finding a qualified professional, understanding associated costs, and managing the repair process from start to finish. We’ll explore essential qualifications, cost factors, common repair methods, contract essentials, and post-repair maintenance, empowering homeowners to make informed choices.
From identifying reputable contractors and negotiating fair contracts to understanding cost breakdowns and preventative maintenance, this resource provides a structured approach to ensure a successful roof repair project. We’ll address common concerns and offer practical advice to help you navigate this often-challenging undertaking.
Finding Qualified Contractors
Choosing the right contractor for your roof repair is crucial for ensuring the longevity and safety of your home. A poorly executed repair can lead to further damage, costly future repairs, and even safety hazards. Careful consideration of several key factors will significantly improve your chances of a successful project.
Essential Contractor Qualifications
Finding a qualified contractor involves more than just checking online reviews. Several critical qualifications should be considered to ensure you’re working with a reputable and skilled professional. These qualifications contribute to a successful project and minimize potential risks.
- Licensing and Insurance: Proper licensing demonstrates compliance with local regulations and industry standards. Insurance protects you from liability in case of accidents or damage during the repair process.
- Experience and Expertise: Look for contractors with a proven track record of successful roof repairs, preferably with experience on similar roofing materials to your own.
- Positive Reviews and References: Check online reviews on platforms like Yelp, Google Reviews, and Angie’s List. Request references from previous clients to gain firsthand insights into their experiences.
- Clear and Detailed Estimates: A reputable contractor will provide a comprehensive, itemized estimate that clearly outlines the scope of work, materials used, and labor costs.
- Warranty and Guarantees: Inquire about warranties offered on both materials and workmanship. A strong warranty demonstrates confidence in the quality of their work.
Key Questions for Potential Contractors
Asking the right questions during the initial consultation is vital in assessing a contractor’s suitability. These questions help uncover critical information and clarify expectations.
- What is your experience with [Your Roof Type]? This clarifies their specific expertise relevant to your roof.
- Can you provide references from recent projects similar to mine? This allows you to verify their claims and assess their past performance.
- What is your process for handling unforeseen issues during the repair? This highlights their problem-solving capabilities and preparedness.
- What is your payment schedule and what are your terms of warranty? This establishes clear financial expectations and safeguards your investment.
- Are you licensed and insured, and can you provide proof? This is crucial for your legal protection and peace of mind.
Contractor Comparison Table
A comparative table can help you organize and analyze information from different contractors. This allows for a side-by-side comparison to make an informed decision.
| Contractor Name | Years of Experience | Licensing & Insurance | Estimated Price |
|---|---|---|---|
| Contractor A | 15+ | Licensed and Insured (Proof Provided) | $5,000 |
| Contractor B | 5 | Licensed, Insurance Pending | $4,500 |
| Contractor C | 10 | Licensed and Insured | $5,500 |
Verifying Contractor Licenses and Insurance
Verifying a contractor’s licensing and insurance is a critical step in protecting yourself from potential problems. Unlicensed contractors may lack the necessary skills and training, while uninsured contractors leave you vulnerable to financial liability in case of accidents or damage. Contact your state’s licensing board to verify licensing information and request proof of insurance directly from the contractor. This due diligence significantly mitigates risk and ensures a more secure project.
Understanding Roof Repair Costs
The cost of roof repair can vary significantly depending on several factors. Understanding these factors will help you budget effectively and avoid unexpected expenses. This section details the key influences on the final price, provides examples of cost breakdowns for common repairs, and highlights potential hidden costs.
Factors Influencing Roof Repair Costs
Several interconnected factors determine the overall cost of a roof repair. These include the extent of the damage, the type of roofing material, the accessibility of the roof, labor costs in your region, and the contractor’s overhead and profit margin. The complexity of the repair, the need for specialized equipment, and even weather conditions can also play a role. For instance, a simple shingle repair will naturally cost less than a complete roof replacement. Similarly, a steep or difficult-to-access roof will increase labor costs.
Sample Cost Breakdown for Different Roof Repairs
The following provides a sample cost breakdown, remembering that actual costs will vary based on location and specific circumstances.
- Shingle Replacement: This typically involves removing damaged shingles, installing underlayment (if needed), and applying new shingles. Costs range from $3 to $10 per square foot, depending on shingle quality and labor rates. A 1000 square foot roof could cost between $3000 and $10,000.
- Leak Repair: Repairing a leak involves identifying the source, addressing the underlying issue (e.g., damaged flashing, cracked shingles), and sealing the leak. This can range from a few hundred dollars for a minor leak to several thousand for extensive water damage repair. A simple leak repair might cost $200-$500, while a more complex leak involving significant structural damage could cost $2000-$5000.
- Flashing Repair: Flashing, the metal material used around chimneys, vents, and valleys, is crucial for preventing leaks. Repairing damaged flashing typically costs between $100 and $500 per area, depending on the size and accessibility. A repair around a chimney might cost $300-$600, while multiple areas could significantly increase the cost.
Common Hidden Costs Associated with Roof Repairs
Beyond the initial repair costs, several hidden expenses can unexpectedly inflate the total bill. These often include permits and inspections, disposal fees for old roofing materials, and unforeseen structural issues discovered during the repair process. For example, discovering rotted wood under damaged shingles necessitates additional repairs and increases the overall cost. Unexpected issues such as finding damaged sheathing beneath the shingles or needing to replace damaged trusses can add thousands to the bill.
Cost Range for Various Roof Repair Scenarios
| Repair Type | Size/Extent | Low Cost Estimate | High Cost Estimate |
|---|---|---|---|
| Shingle Repair (small area) | 10-20 sq ft | $200 | $500 |
| Shingle Replacement (full roof) | 2000 sq ft | $4000 | $12000 |
| Leak Repair (minor) | Single leak | $150 | $400 |
| Flashing Repair (Chimney) | Around chimney | $300 | $800 |
The Roof Repair Process
Understanding the typical steps involved in a residential roof repair project is crucial for both homeowners and contractors. A well-defined process ensures a smooth and efficient repair, minimizing disruptions and maximizing the lifespan of your roof. This section outlines the typical stages, common repair methods, inspection techniques, and a homeowner’s guide to working with a contractor.
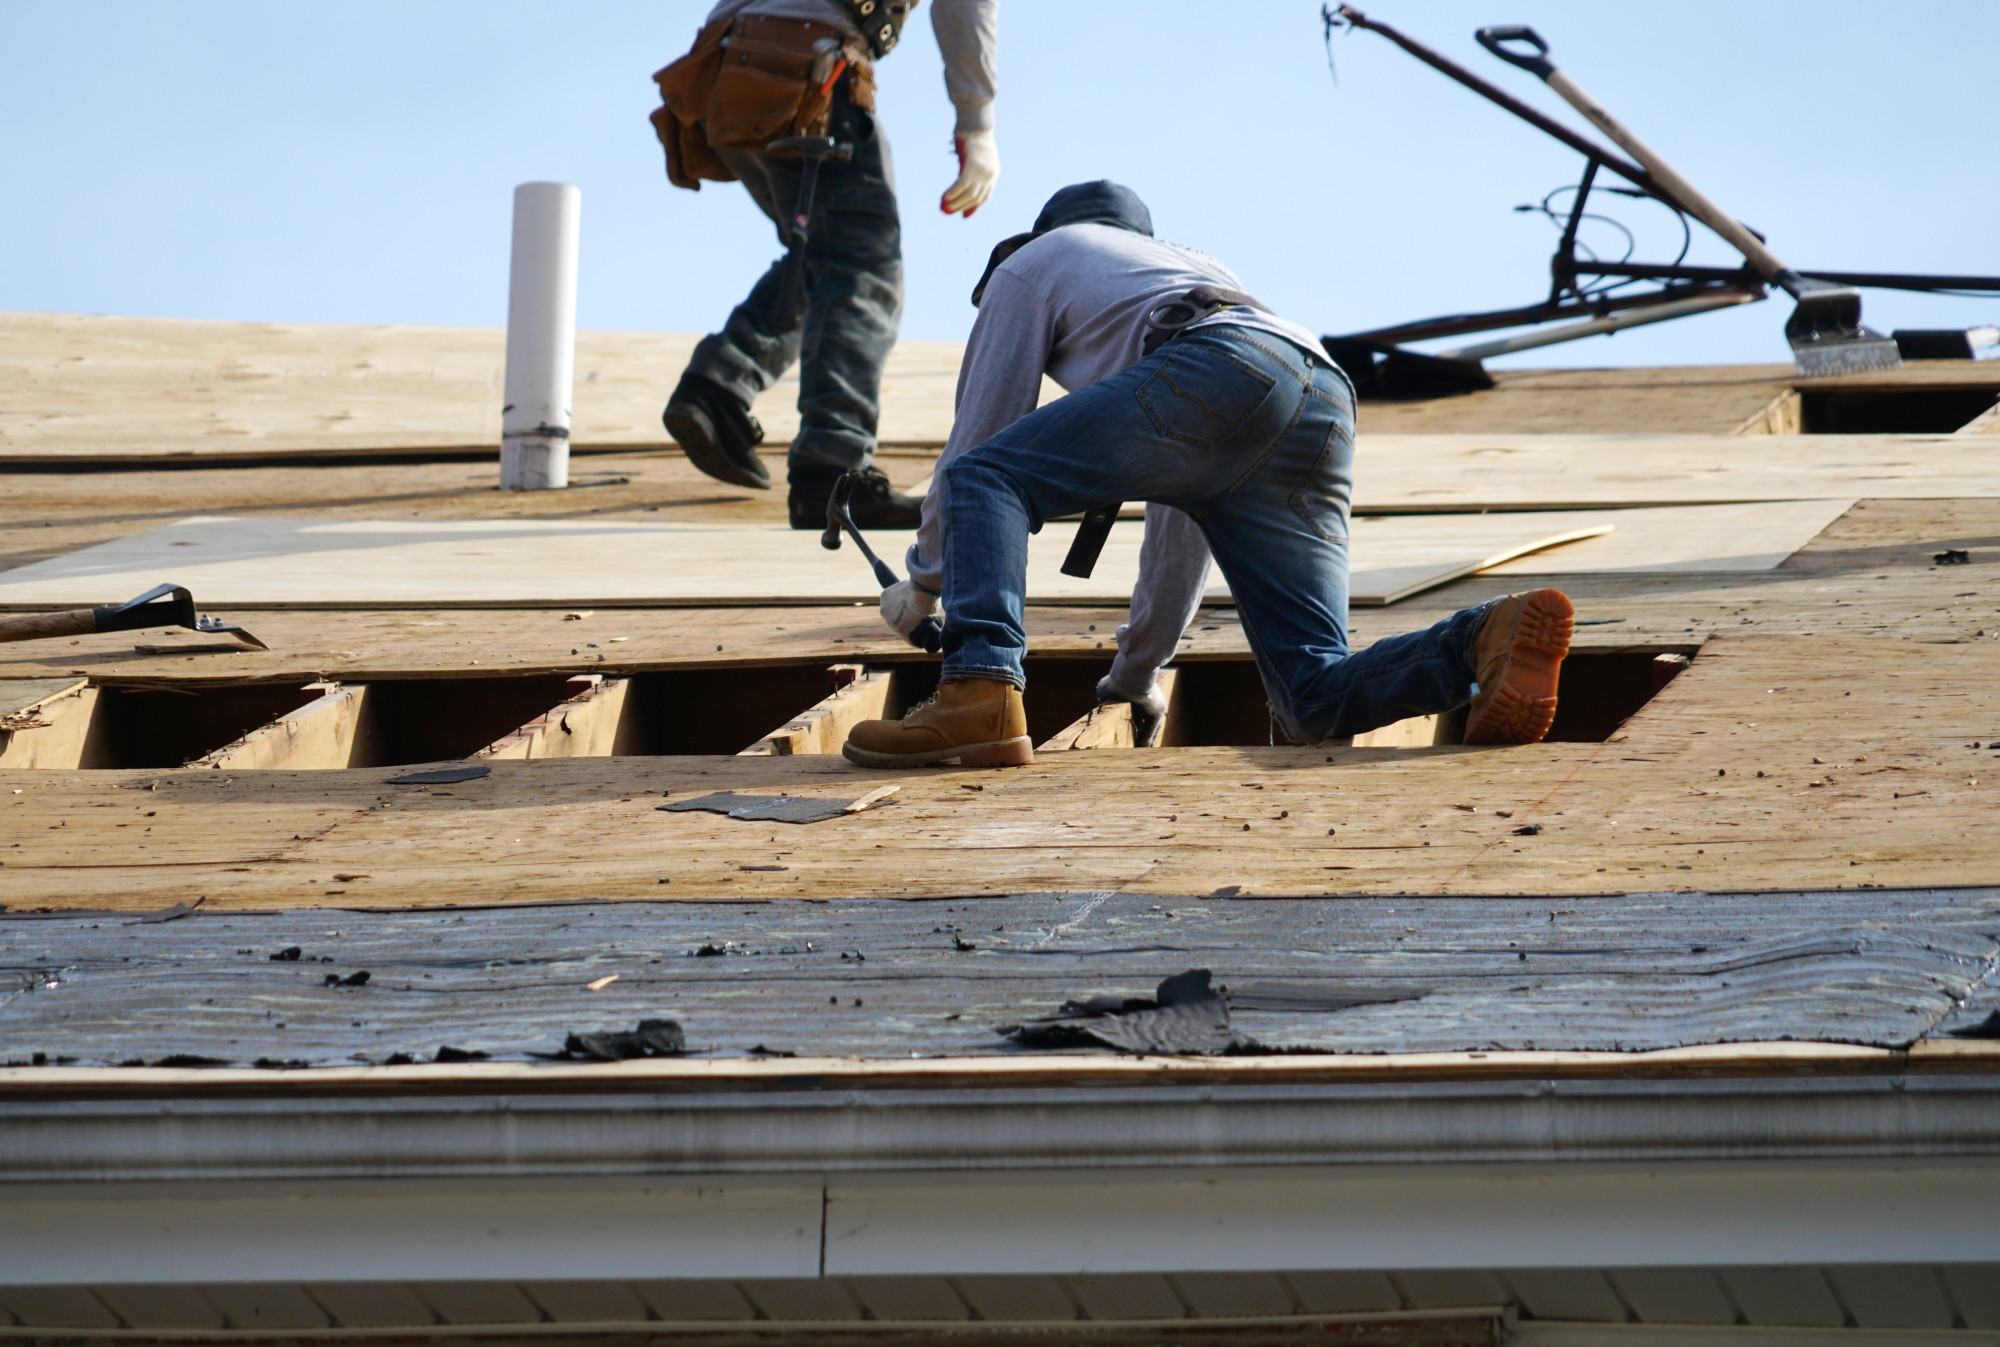
A residential roof repair typically follows a series of steps, starting with a thorough inspection and assessment of the damage, followed by material selection, repair execution, and final cleanup. The specific methods employed will vary depending on the type of roofing material and the extent of the damage. Proper preparation and attention to detail at each stage are essential for a successful and long-lasting repair.
Roof Inspection and Damage Assessment
A comprehensive roof inspection is the first and most critical step. This involves a visual examination of the entire roof surface, paying close attention to areas prone to damage such as valleys, ridges, and flashing. Contractors typically use binoculars to get a closer look at hard-to-reach areas. They may also utilize drones equipped with high-resolution cameras for a safer and more detailed aerial view. For areas requiring closer inspection, a contractor may walk the roof itself, ensuring proper safety measures are in place. Common tools used include a ladder, binoculars, and a moisture meter to detect hidden leaks. The contractor will meticulously document the findings, noting the location, type, and extent of any damage, creating a detailed report for the homeowner. This report forms the basis for the repair plan and cost estimate.
Common Roof Repair Methods
The repair methods employed depend heavily on the roofing material.
Asphalt Shingle Repairs
Asphalt shingle repairs often involve replacing individual damaged shingles. Minor repairs might involve simply resealing lifted or cracked shingles using roofing cement. More extensive damage may necessitate replacing multiple shingles or even sections of the roof. The process involves carefully removing the damaged shingles, ensuring the underlying felt is intact. New shingles are then installed, matching the existing ones in terms of color and style. Proper nailing and sealing are crucial to prevent future leaks.
Tile Roof Repairs
Tile roofs require specialized techniques due to the fragility and weight of the tiles. Damaged tiles are carefully removed, and replacements are installed, ensuring proper alignment and secure fastening. Cracked or broken tiles are replaced with matching tiles, paying close attention to maintaining the integrity of the roof structure. Mortar is often used to secure the tiles and ensure a watertight seal. The use of specialized tools and experience is crucial for successful tile roof repairs.
Metal Roof Repairs
Metal roofs are known for their durability, but they can still suffer damage from impacts or corrosion. Repairs typically involve replacing damaged panels or sections of the roof. Seams may need to be resealed or repaired using specialized metal roofing sealant. The process often involves using specialized tools to cut and shape new metal panels to match the existing roof. Proper fastening and sealing are critical to prevent leaks and maintain the roof’s integrity. In some cases, specialized coatings may be applied to protect against corrosion.
A Step-by-Step Guide for Homeowners
Working effectively with a contractor requires clear communication and a well-defined process. The following steps will help homeowners navigate the roof repair project successfully.
- Obtain multiple estimates from qualified contractors. Compare pricing, materials, and warranties.
- Thoroughly review the contractor’s contract, ensuring all details are clearly outlined, including payment schedules and timelines.
- Communicate clearly with the contractor throughout the project, addressing any concerns or questions promptly.
- Regularly inspect the work in progress to ensure it meets the agreed-upon standards and specifications.
- Conduct a final inspection upon project completion to verify all repairs have been made correctly and the site is clean.
- Make final payment only after a satisfactory inspection and completion of the project.
Contractor Contracts and Agreements
A comprehensive and clearly written contract is the cornerstone of a successful roof repair project. It protects both the homeowner and the contractor, outlining expectations, responsibilities, and payment terms to avoid misunderstandings and disputes. A well-drafted contract ensures a smooth process from start to finish.
A detailed written contract is essential for several reasons. It provides a legally binding agreement, clarifying all aspects of the project, minimizing the potential for conflict, and establishing a clear framework for communication and resolution of any issues that may arise. This document serves as a reference point throughout the project lifecycle.
Crucial Contract Clauses
Including specific clauses in your contract safeguards your interests and ensures a clear understanding between you and the contractor. These clauses should be precise and unambiguous to prevent future disagreements.
- Scope of Work: A detailed description of the repairs, including materials to be used (with specific brands and models if applicable), and the areas to be addressed. For example, “Repair of all damaged shingles on the south-facing roof section, including replacement of broken tiles and flashing repair around chimney.”
- Payment Schedule: A clear breakdown of payments, including percentages tied to project milestones. For instance, “25% upon contract signing, 50% upon completion of material delivery and initial repairs, and 25% upon final inspection and project completion.” This prevents upfront payment for work not yet completed.
- Project Timeline: Realistic start and completion dates, with allowances for potential delays due to unforeseen circumstances (weather, material availability). For example, “Project to commence on October 26th, 2024, and be completed by November 15th, 2024, barring unforeseen weather delays.”
- Warranty and Guarantees: Details of the warranty provided on both workmanship and materials, including duration and coverage. For example, “A five-year warranty on all workmanship and materials used in the roof repair.” This assures the homeowner of the contractor’s confidence in their work.
- Dispute Resolution: A clear process for resolving disputes, possibly including mediation or arbitration, to avoid costly litigation. For example, “Any disputes arising from this contract shall be resolved through binding arbitration.” This provides a less adversarial approach to problem-solving.
- Permitting and Inspections: Clarification of who is responsible for obtaining necessary permits and scheduling inspections. For example, “Contractor is responsible for obtaining all necessary building permits.” This ensures compliance with local regulations.
- Liability and Insurance: Confirmation that the contractor carries adequate liability insurance to cover potential damages or injuries. This protects the homeowner from financial responsibility in case of accidents.
Reviewing and Negotiating Contract Terms
Carefully reviewing the contract is crucial before signing. Understand each clause, and don’t hesitate to ask the contractor for clarification on anything unclear. Negotiating terms is acceptable; it’s a collaborative process. If you’re uncomfortable with any clause, negotiate for changes that better protect your interests. Consider seeking legal advice if needed, especially for complex repairs or large sums of money.
Sample Contract (Bullet Points)
This is a simplified example and should be adapted to the specific project. Always consult with legal counsel for a legally sound contract.
- Parties Involved: [Homeowner Name and Address] and [Contractor Name and Business Address]
- Project Description: [Detailed description of the roof repair work, including specific areas, materials, and methods]
- Total Cost: [Total cost of the project, broken down by items]
- Payment Schedule: [Percentage-based payment schedule tied to project milestones]
- Project Timeline: [Start and completion dates, with allowances for delays]
- Warranty: [Duration and coverage of the warranty on workmanship and materials]
- Permitting: [Responsibility for obtaining permits]
- Insurance: [Confirmation of contractor’s liability insurance]
- Dispute Resolution: [Method for resolving disputes]
- Signatures: [Space for signatures of both parties, with dates]
Post-Repair Maintenance and Care
Investing in a roof repair is a significant undertaking, and ensuring its longevity is crucial for protecting your home and investment. Proper post-repair maintenance significantly extends the lifespan of your roof, preventing costly future repairs and ensuring the structural integrity of your house. This section details essential steps to keep your roof in optimal condition.
Regular inspection and proactive maintenance are key to preventing major problems. A well-maintained roof will not only look better but also provide years of reliable protection against the elements. Neglecting routine care can lead to accelerated deterioration and necessitate more extensive (and expensive) repairs down the line.
Regular Roof Inspections
Regular visual inspections are your first line of defense against potential roof damage. Ideally, you should inspect your roof at least twice a year – once in spring and once in autumn – to check for any signs of wear and tear. During these inspections, look for missing or damaged shingles, signs of leaks, clogged gutters, and any noticeable changes in the overall appearance of the roof. A thorough inspection, preferably from both ground level and, if safe, the roof itself, allows for early detection of minor issues before they escalate into major problems.
Preventative Measures for Avoiding Future Roof Damage
Taking preventative measures significantly reduces the likelihood of future roof damage. This includes addressing potential problems before they become significant issues.
A proactive approach is essential. Addressing potential issues promptly prevents small problems from developing into large, costly repairs. Here are some key preventative measures:
- Regular Gutter Cleaning: Clogged gutters can cause water to back up onto the roof, leading to leaks and damage. Clean your gutters at least twice a year, removing leaves, debris, and any buildup. Visualize yourself using a sturdy ladder, carefully reaching into the gutters with a trowel or scoop, removing the accumulated debris, and then flushing the gutters with water to ensure proper drainage.
- Tree Trimming: Overhanging branches can scrape against your roof, causing damage to shingles and potentially creating entry points for water. Regularly trim back branches that are close to your roofline. Imagine a pair of sharp pruning shears carefully removing branches that brush against the roof’s surface, maintaining a safe distance to prevent future damage.
- Debris Removal: Regularly remove leaves, twigs, and other debris from your roof surface. This prevents moisture buildup and potential damage to shingles. Picture yourself using a soft-bristled broom to gently sweep away any accumulated debris, taking care not to damage the shingles.
- Proper Ventilation: Adequate attic ventilation is crucial for preventing moisture buildup, which can lead to mold growth and structural damage. Ensure your attic has sufficient ventilation to allow for proper air circulation. Imagine the attic with vents both at the bottom and top, allowing for a continuous flow of air, preventing moisture accumulation.
Common Signs of Roof Damage
Recognizing common signs of roof damage enables prompt action and prevents further deterioration. Early detection is key to minimizing repair costs and preventing more extensive damage.
It’s important to be vigilant and regularly check your roof for any of these indicators.
- Missing or Damaged Shingles: Look for shingles that are cracked, curled, missing, or otherwise damaged. These are often easily spotted from the ground, especially after a storm.
- Leaks: Water stains on ceilings or walls, or damp spots in the attic, indicate potential leaks. These should be addressed immediately.
- Sagging Roofline: A sagging roofline can be a sign of structural problems or water damage. This requires professional assessment.
- Granule Loss: Noticeable granule loss on shingles indicates wear and tear, increasing the risk of leaks. This is often visible in gutters or around the base of the downspouts.
- Moss or Algae Growth: Excessive moss or algae growth can trap moisture, leading to damage. This is often visible as dark streaks or patches on the roof.
Epilogue
Successfully completing a roof repair project requires careful planning and a thorough understanding of the process. By following the guidelines outlined in this guide, homeowners can confidently navigate the complexities of finding a qualified contractor, managing costs, and ensuring long-term roof health. Remember, a well-maintained roof protects your home and investment for years to come.